
How to Set Up Your Holafly eSIM
The first time I used an eSIM in 2023, I remember being very intimidated by the process. There were so many instructions and I had heard horror stories of people arriving at their destination, only to realize their eSIM didn’t work.
Or worse, they didn’t realize their eSIM wasn’t working, and they unknowingly racked up outrageous roaming charges from their home network!
Luckily in 2026, and with a company that is all about peace of mind like Holafly, setting up an eSIM is much simpler and much less scary! If you’ve been nervous to try an eSIM, I promise it’s not as intimidating as you think.
Below I’m going to walk you through the exact steps I took to purchase, install and activate my Holafly eSIM for our fall 2026 trip to the United States.
I want you to see how quick and easy it is to set up an eSIM so you’re able to stay connected on your next trip. No more roaming charges for us!
Disclosure: Some of the links below are affiliate links, meaning if you click through and make a purchase, I will earn a small commission at no additional cost to you. This post is sponsored by Holafly; all opinions are my own. Thanks to Holafly and you for your support of my work!
Step 1: Select your eSIM and purchase
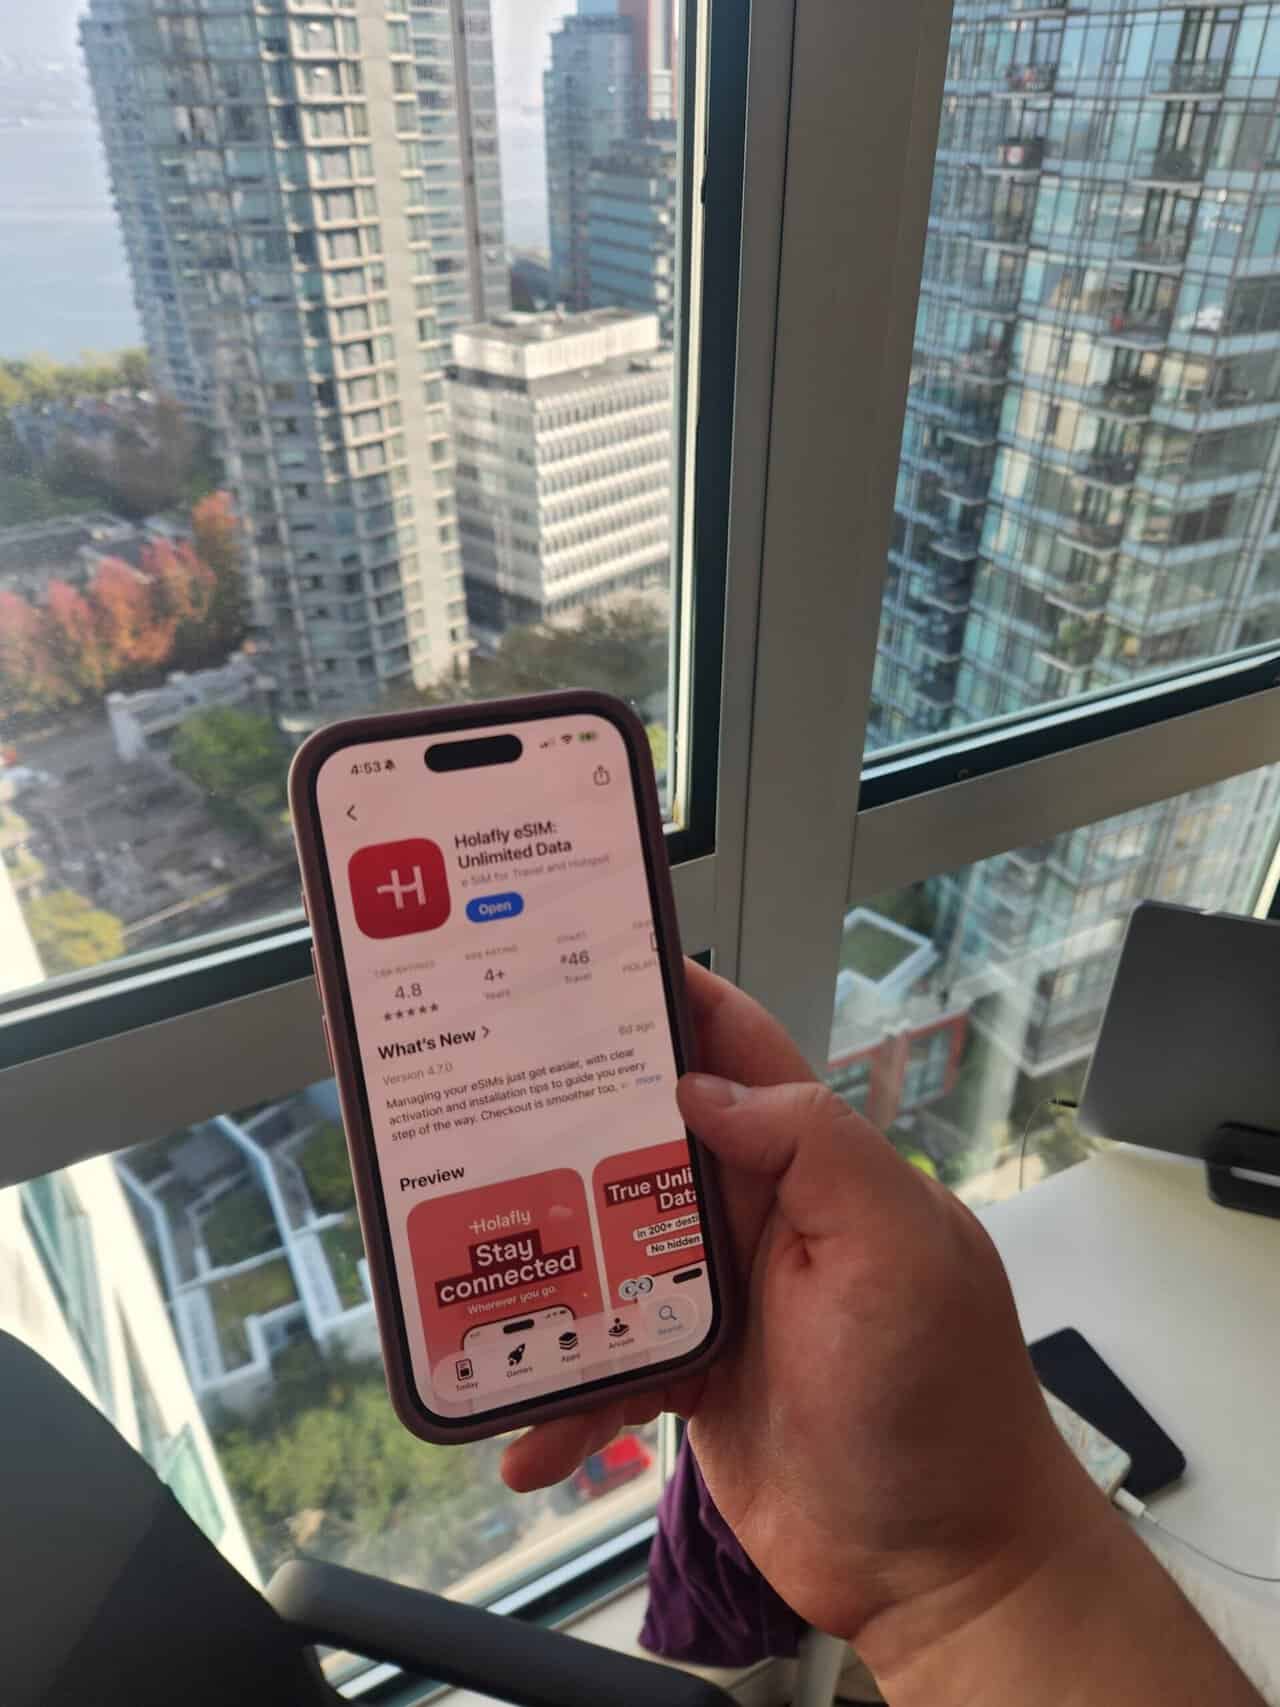
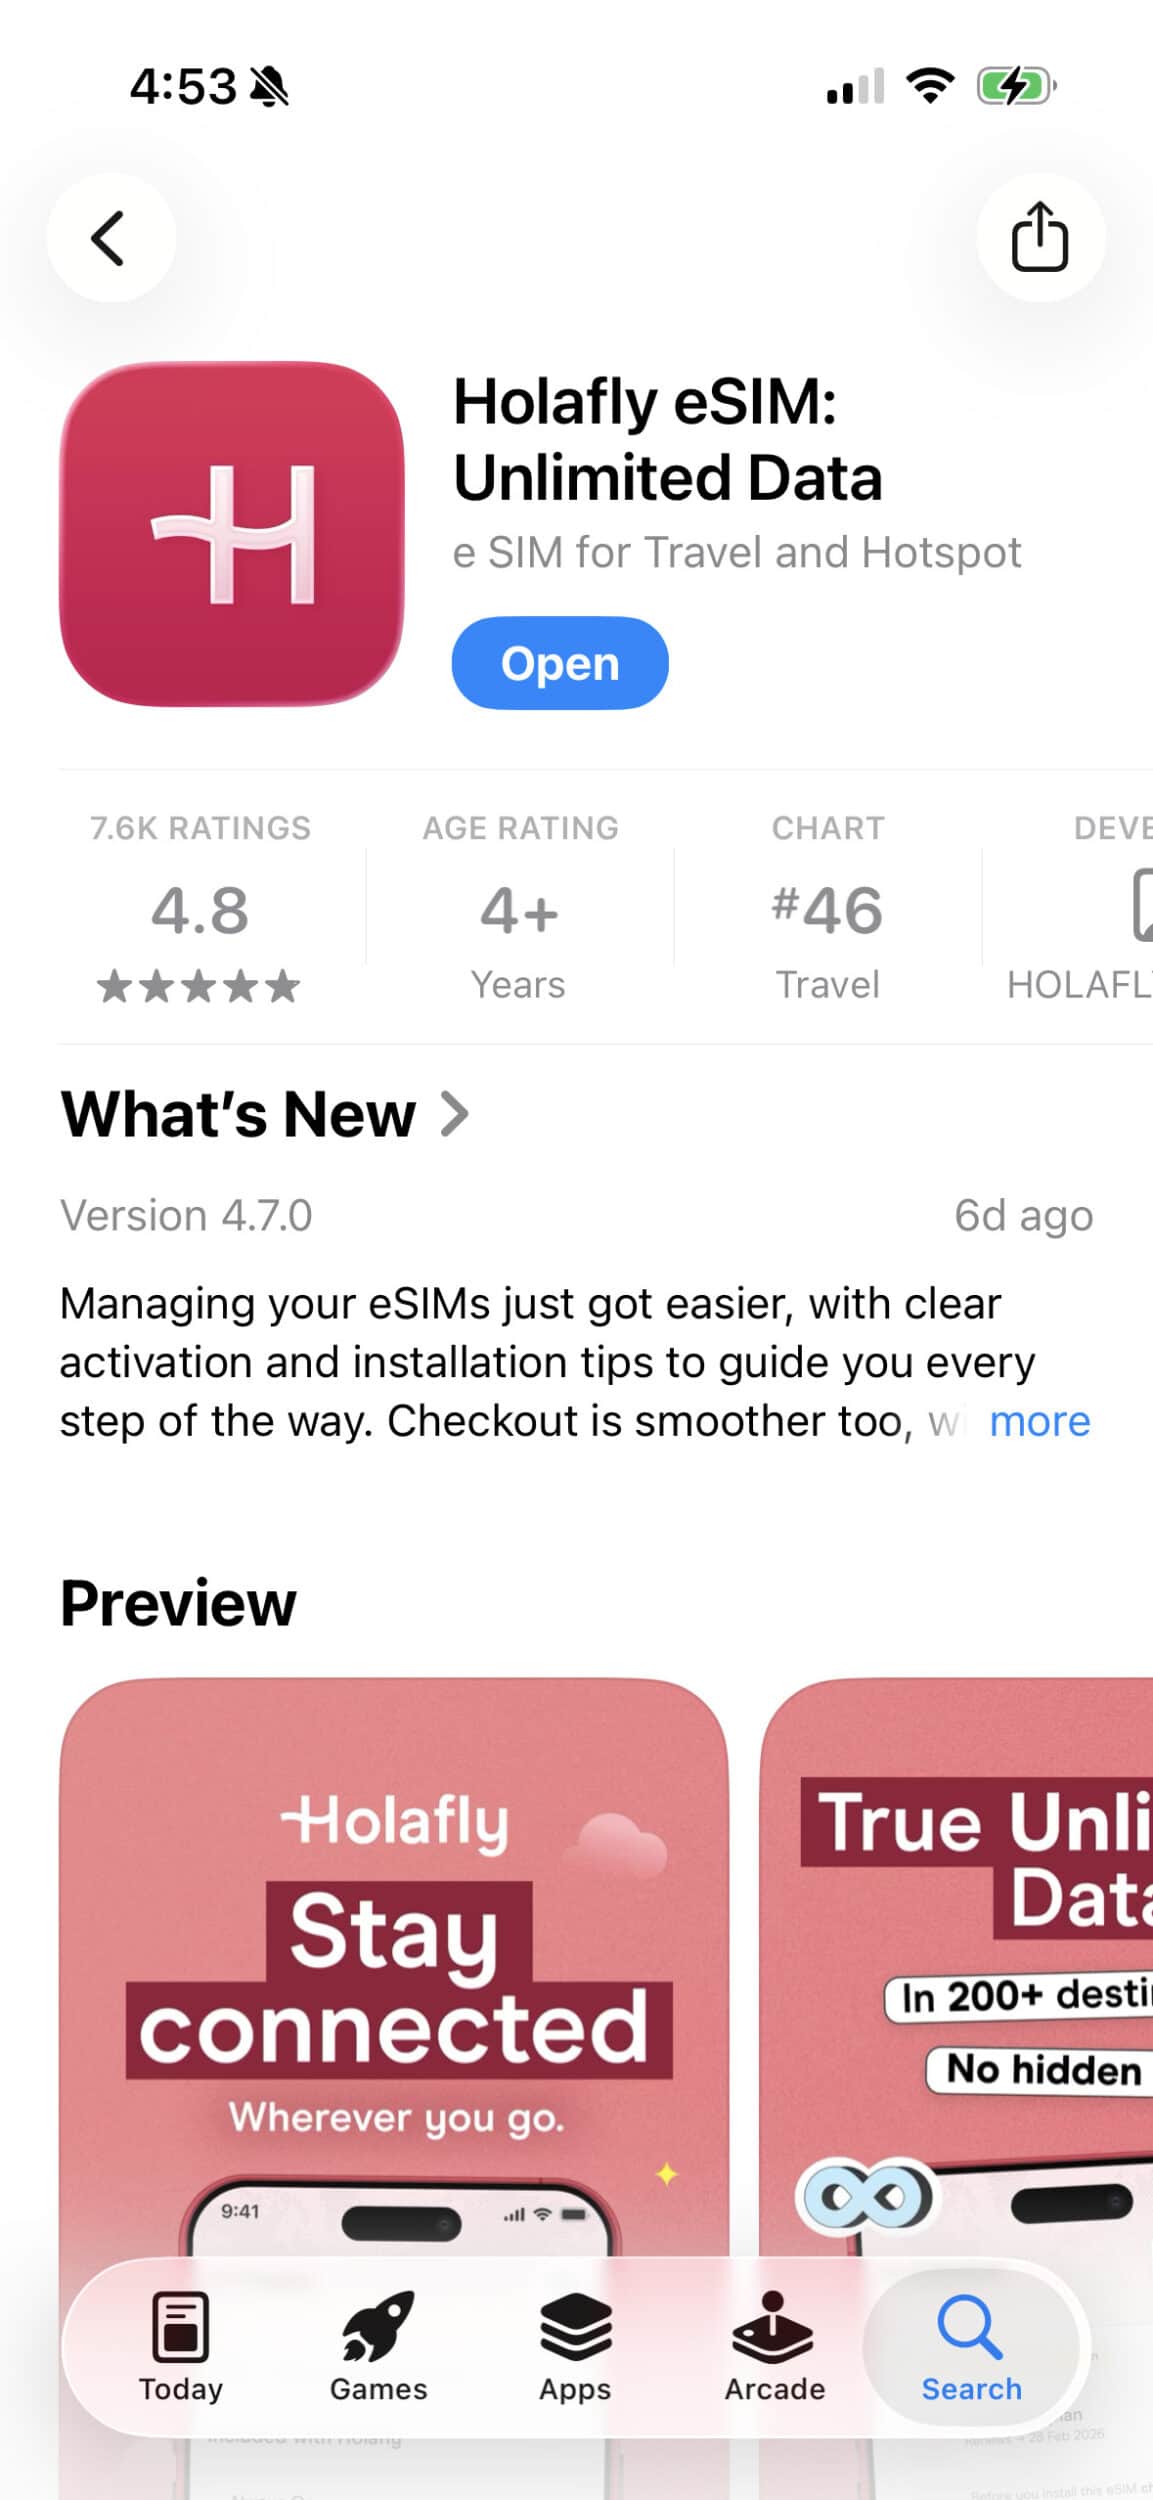
To get started with setting up my Holafly eSIM, I first downloaded the Holafly App on my phone. I love that I was able to get started right away by typing in my destination, rather than being forced to make an account first.
After selecting the United States as my destination, the app asked me how many days I would be travelling, which I selected on a calendar.
This was such a great feature because it meant my eSIM plan was custom to my trip! I didn’t have to scroll through endless plan options or pick from predetermined trip lengths.
In the past, I’ve been restricted by eSIM plans that are valid for 7 days, 14 days or 30 days. Meaning if my trip was 15 or 16 days, I’d have to sign up for the 30 day plan, even though I didn’t need the full 30 days.
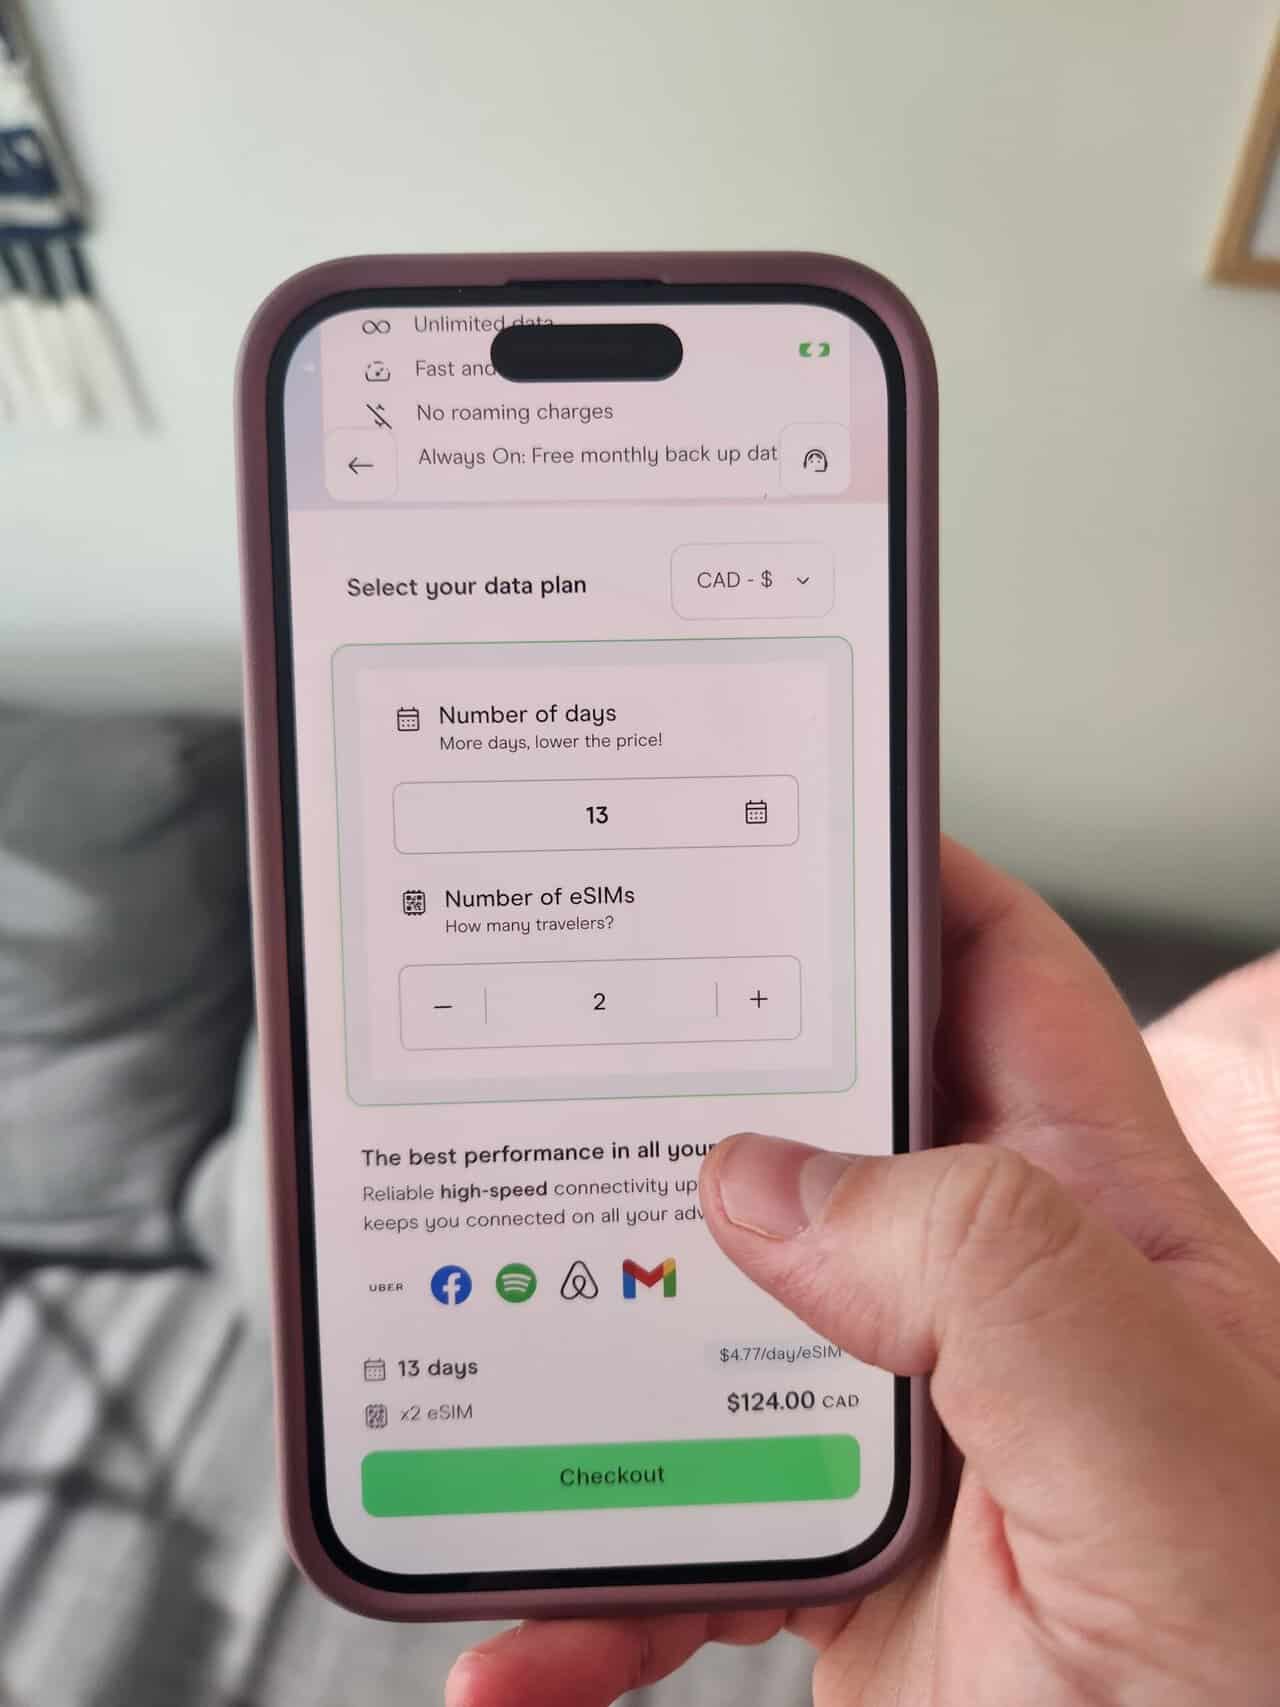
I love that Holafly’s plans are custom to my exact trip dates. And with Always On, 1GB of free backup data that renews monthly for 12 months, I don’t have to worry if my trip dates change at the last minute.
I also really like that I could view plans in my home currency and pay in that currency too. It was a lot more convenient for me to be able to pay for my eSIM in Canadian dollars.
As I played around with my travel dates, I noticed that the daily eSIM cost goes down the longer you stay. So it’s nice that long term travellers can get a discount or take advantage of Holafly’s monthly subscription plans.
After choosing my dates and number of eSIMs I needed, I added them to my cart and went to checkout. It was an easy process to type in my personal and payment info, though I did wish the app allowed me to use Apple Pay to purchase in one click.
I paid $55 CAD ($39.50 USD) for 11 days of unlimited data in the United States. At $5 CAD per day, that’s much cheaper than the $16 CAD per day my home phone company would charge me for US roaming.
I also didn’t get hit with any hidden fees or upgrade options at checkout, which I really appreciate!
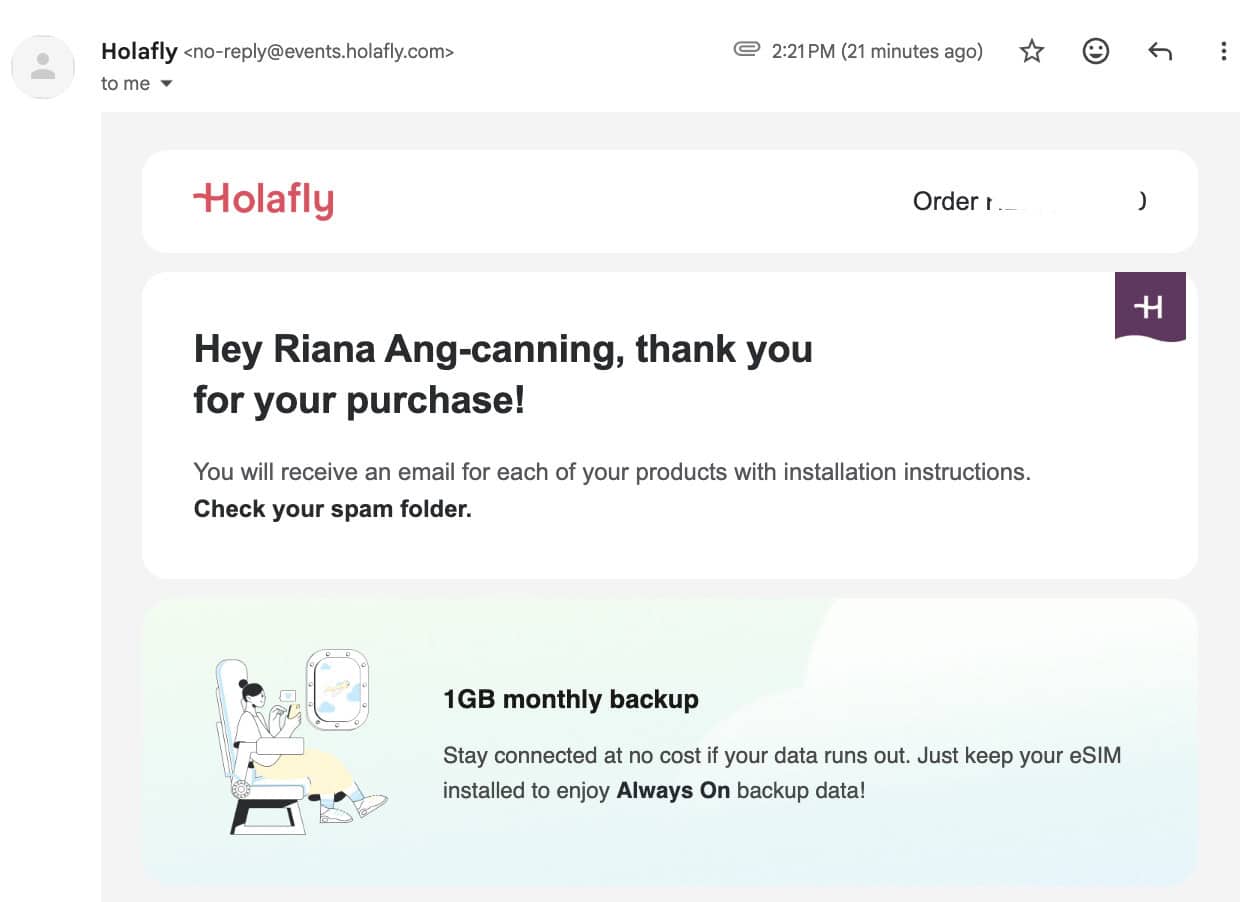
From there, I received an email with instructions on how to install and activate my eSIM, as well as FAQs and a WhatsApp number if I had any questions for the Holafly team.
Get your own Holafly eSIM with unlimited data around the globe (200+ destinations) using my discount code:
Use my code TEASPOONOFADVENTURE for 5% off eSIMs and 10% off Holafly Plans (for the first 12 months)
Step 2: Install your Holafly eSIM before you travel
The day before our trip, I opened up my email from Holafly and followed their instructions to install my eSIM. They recommend doing this right before you travel when you have stable wifi and won’t interrupt the installation process.
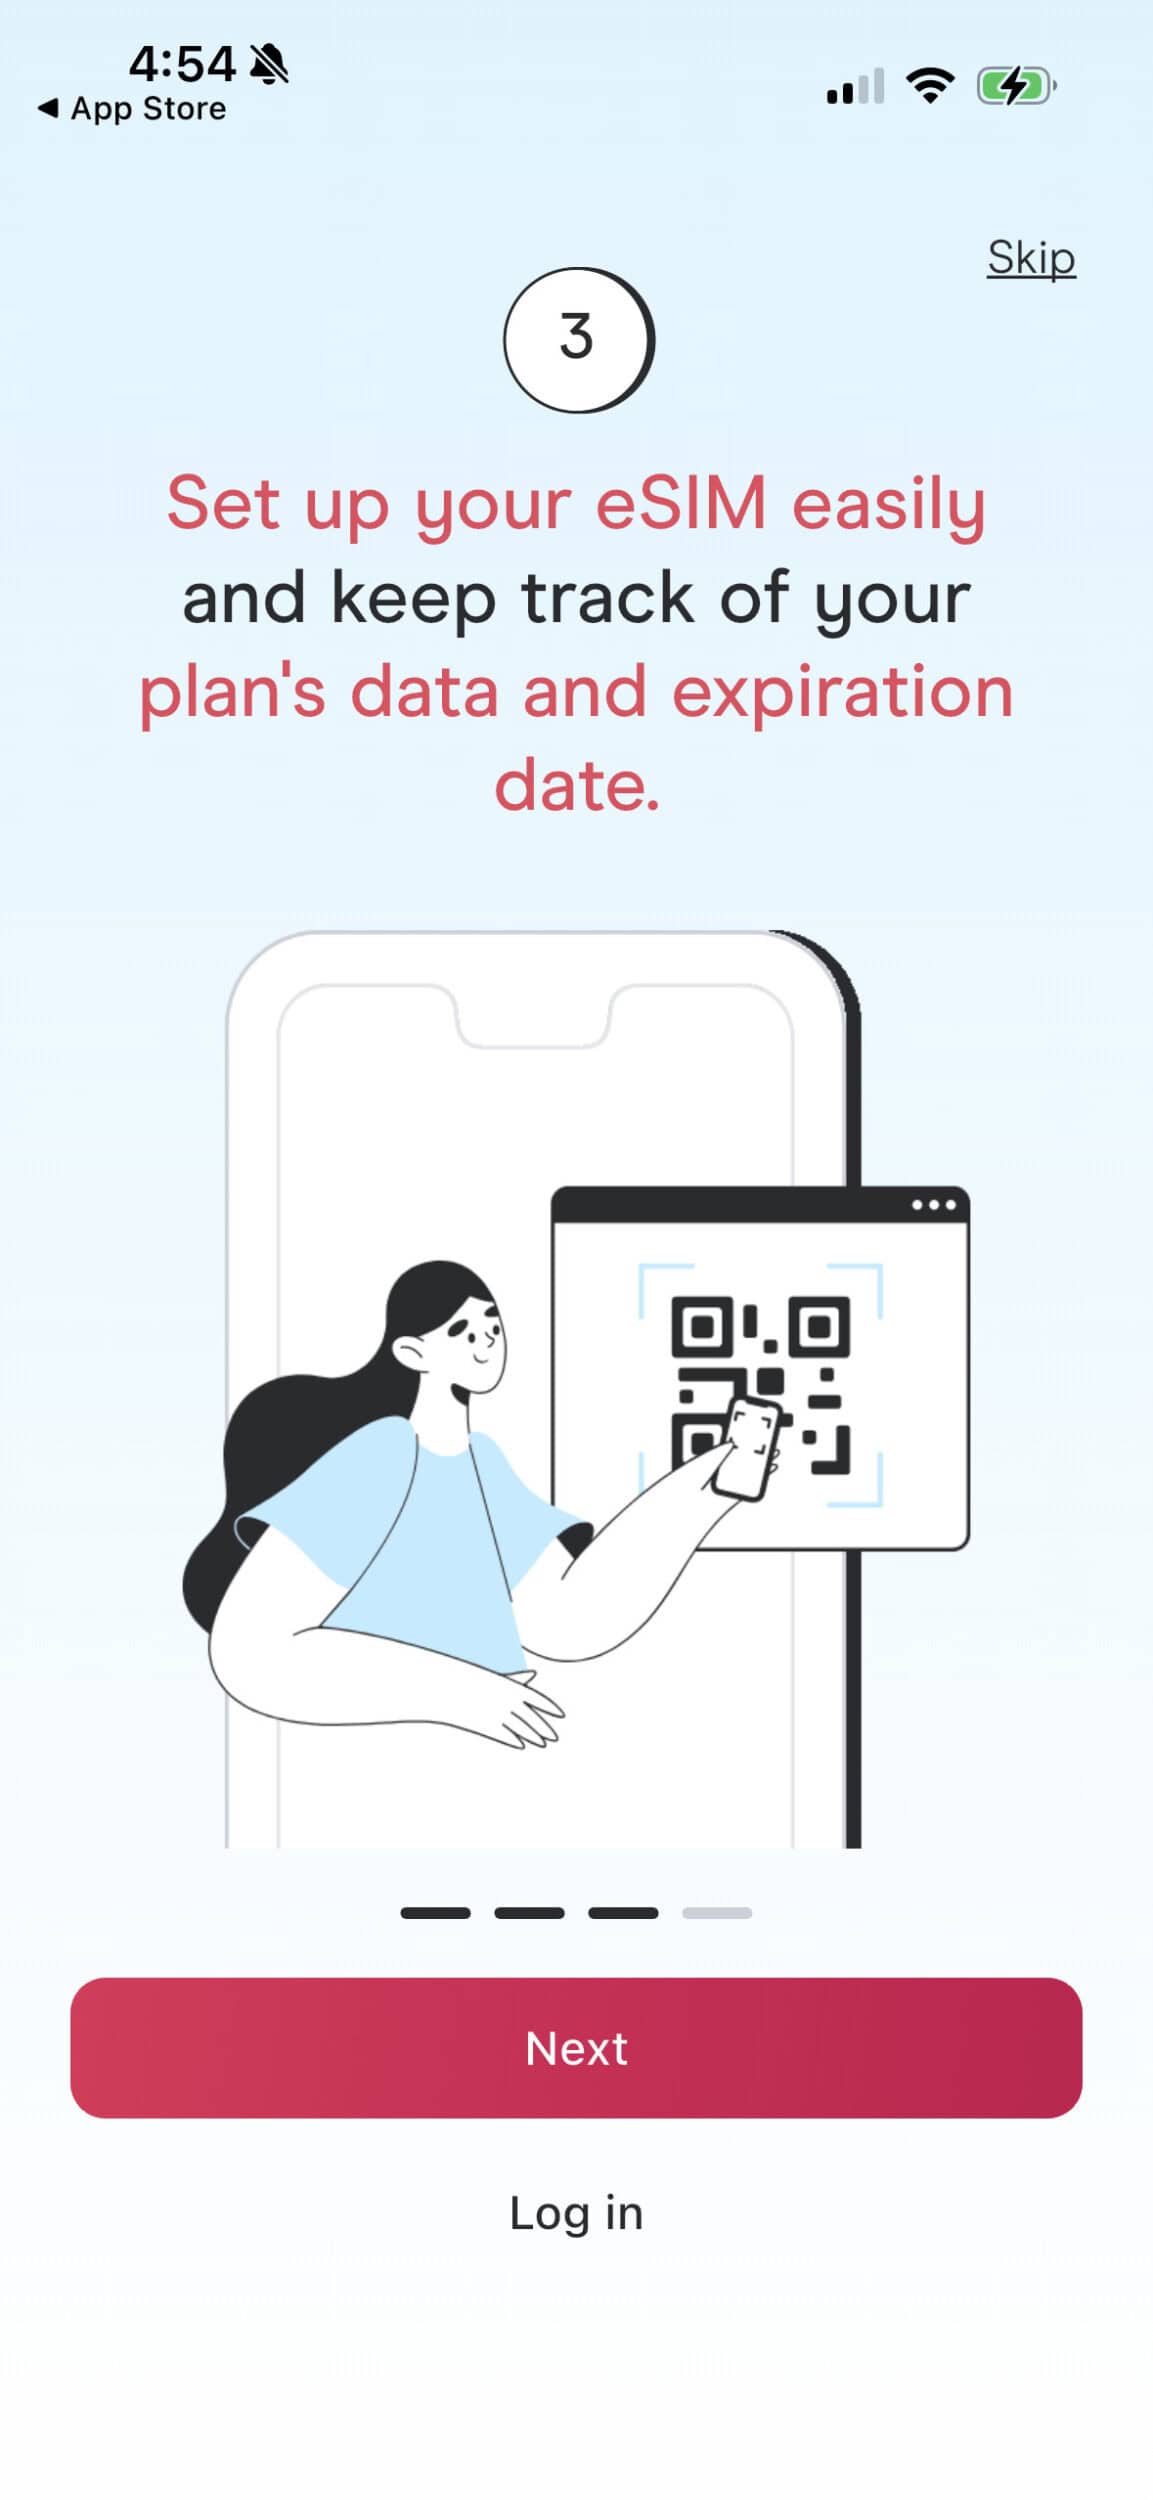
In the email, they offered three easy ways to install my eSIM: automatically through the Holafly App, using a QR code, or using a manual code.
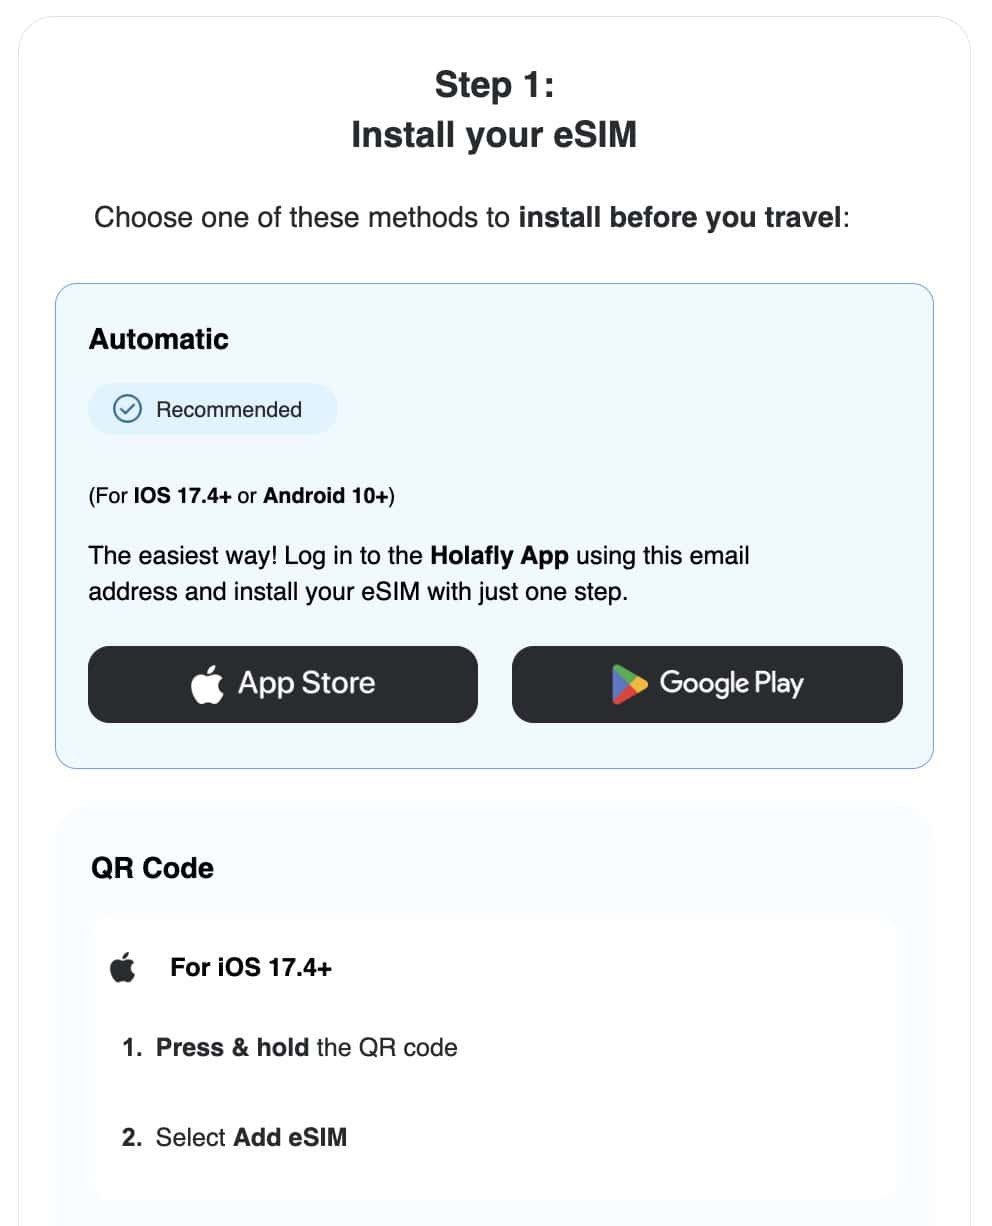
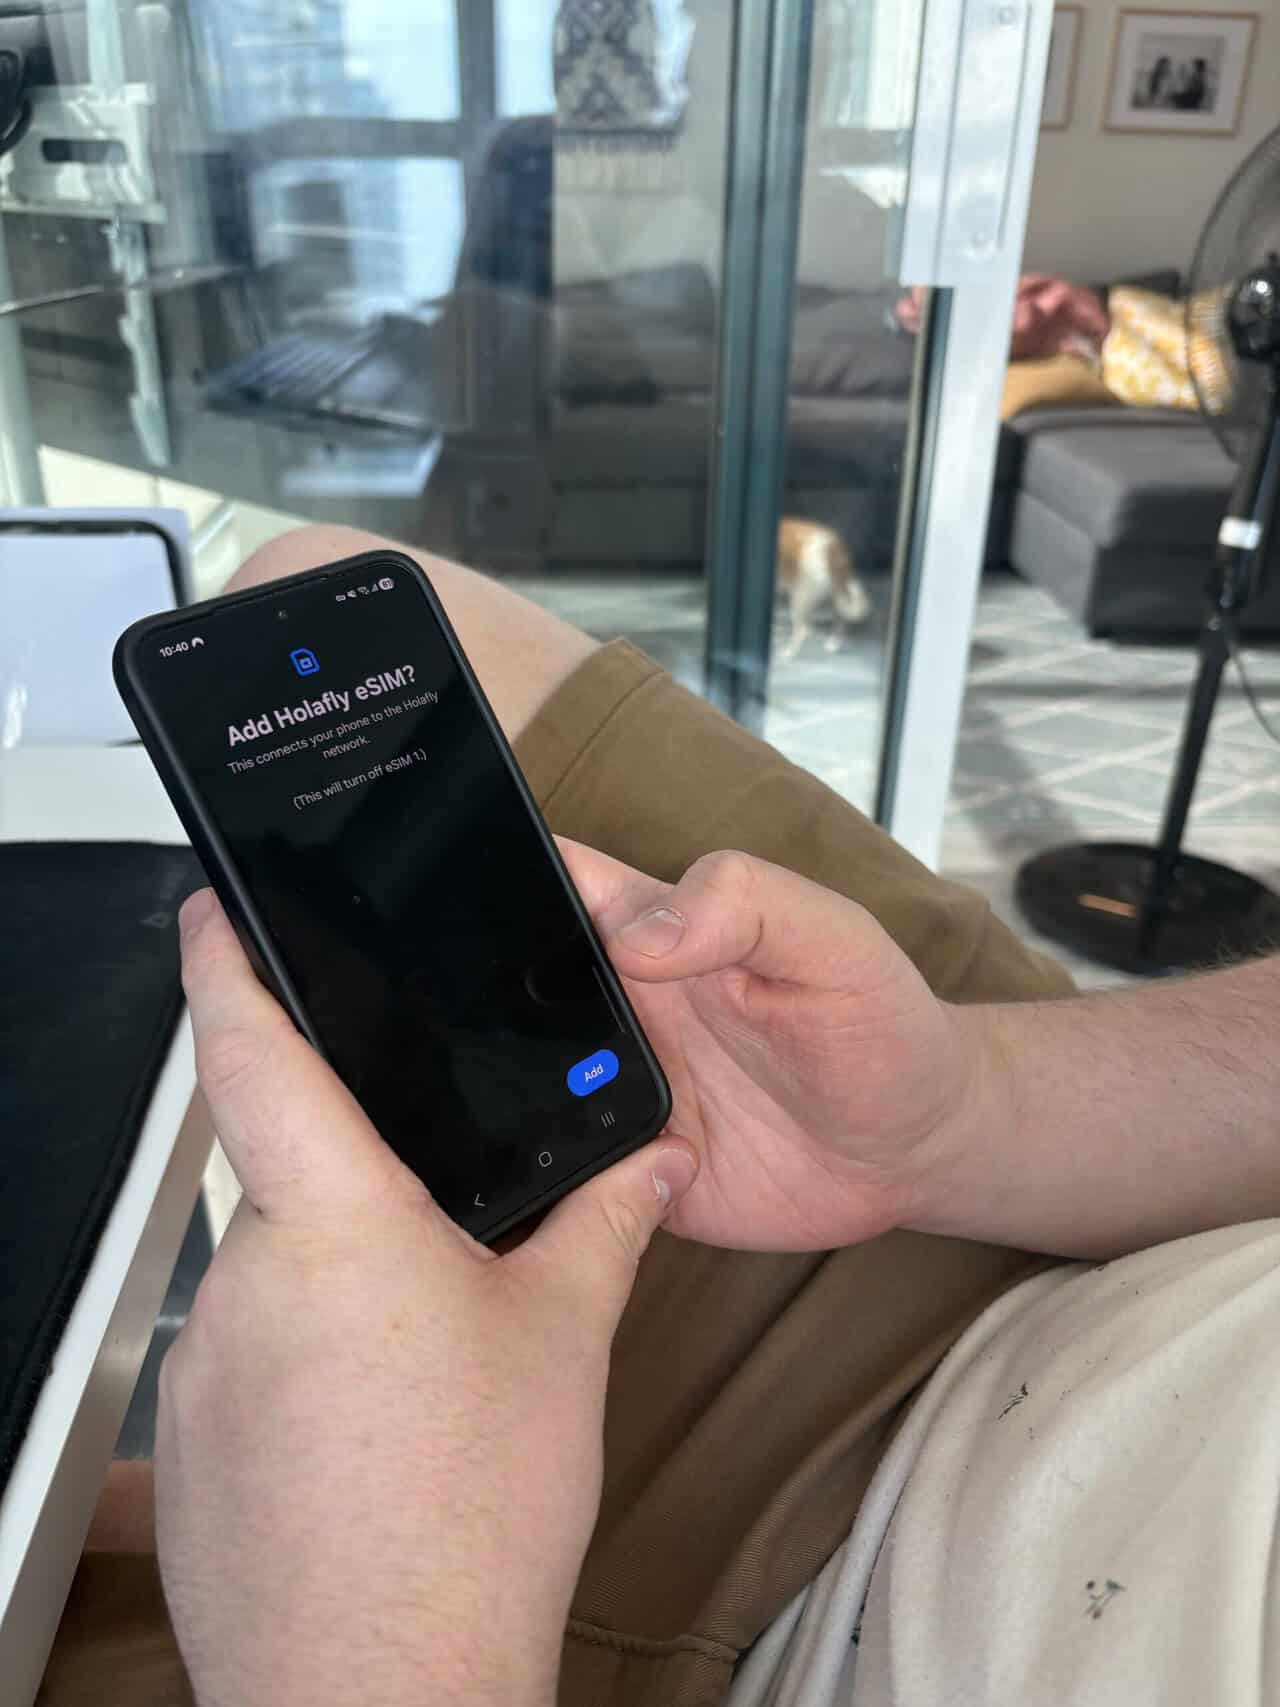
I had purchased two eSIMs – one for myself and one for my husband. I installed mine using the Holafly App and he scanned the QR code in my email from his phone.
Note: We received two emails, one for each eSIM we purchased, each with their own QR and manual codes. So there was no confusion about one person accidentally installing both eSIMs.
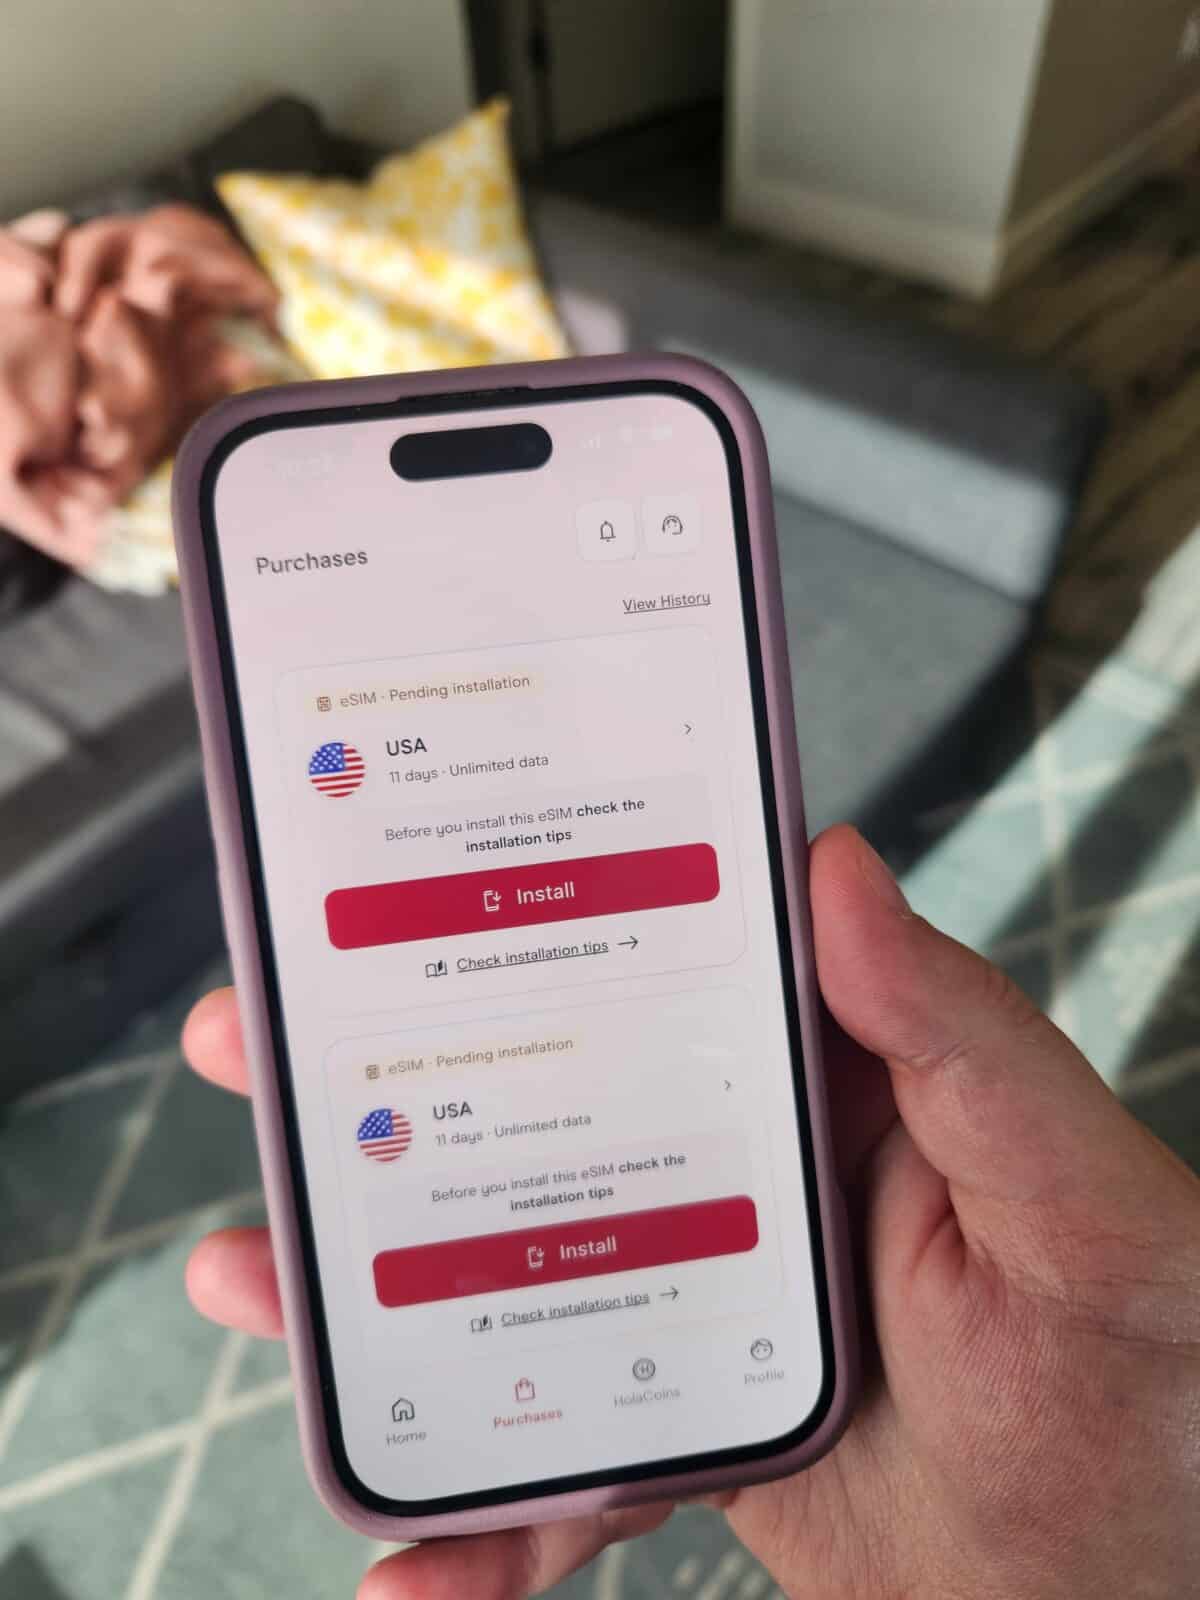
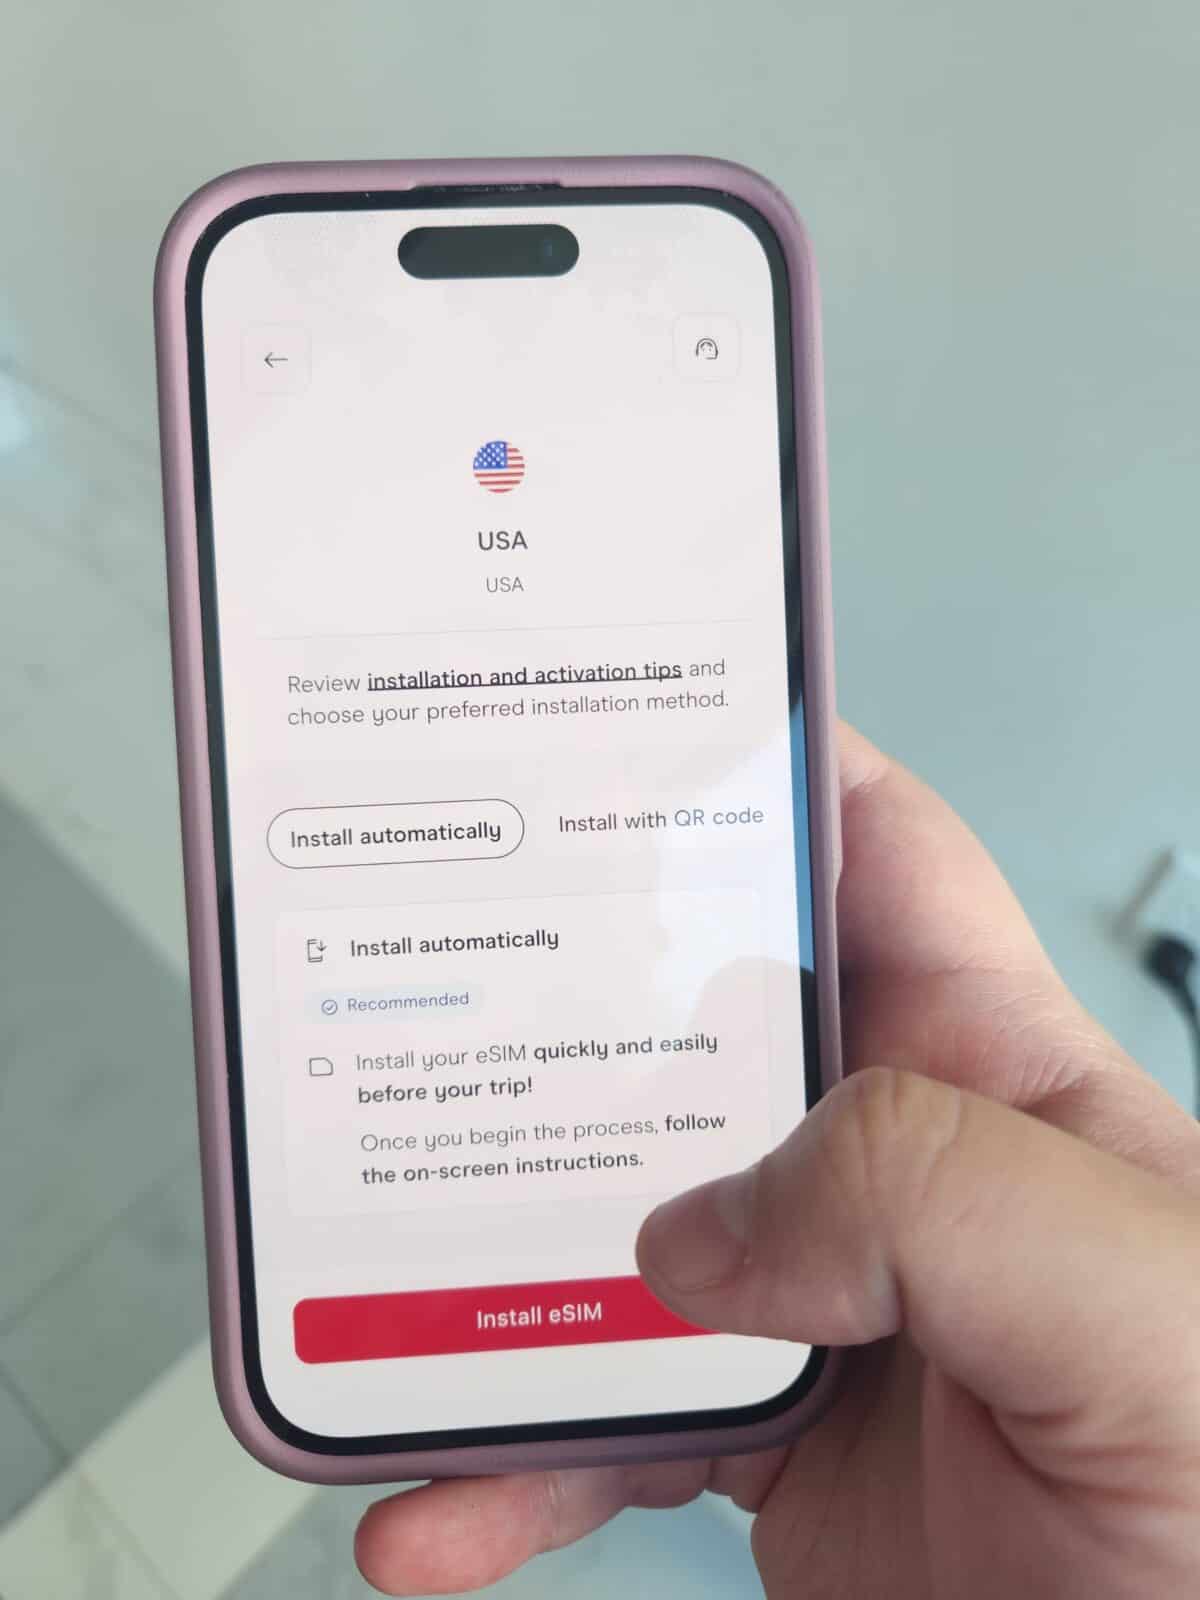
The installation process was so simple! I clicked one button in the app, followed a few prompts and it was all done. No going into the backend of my phone and no tech skills needed.
For my husband, it was even simpler. He didn’t have to download an app; he just scanned the QR code off my phone and his phone handled the rest.
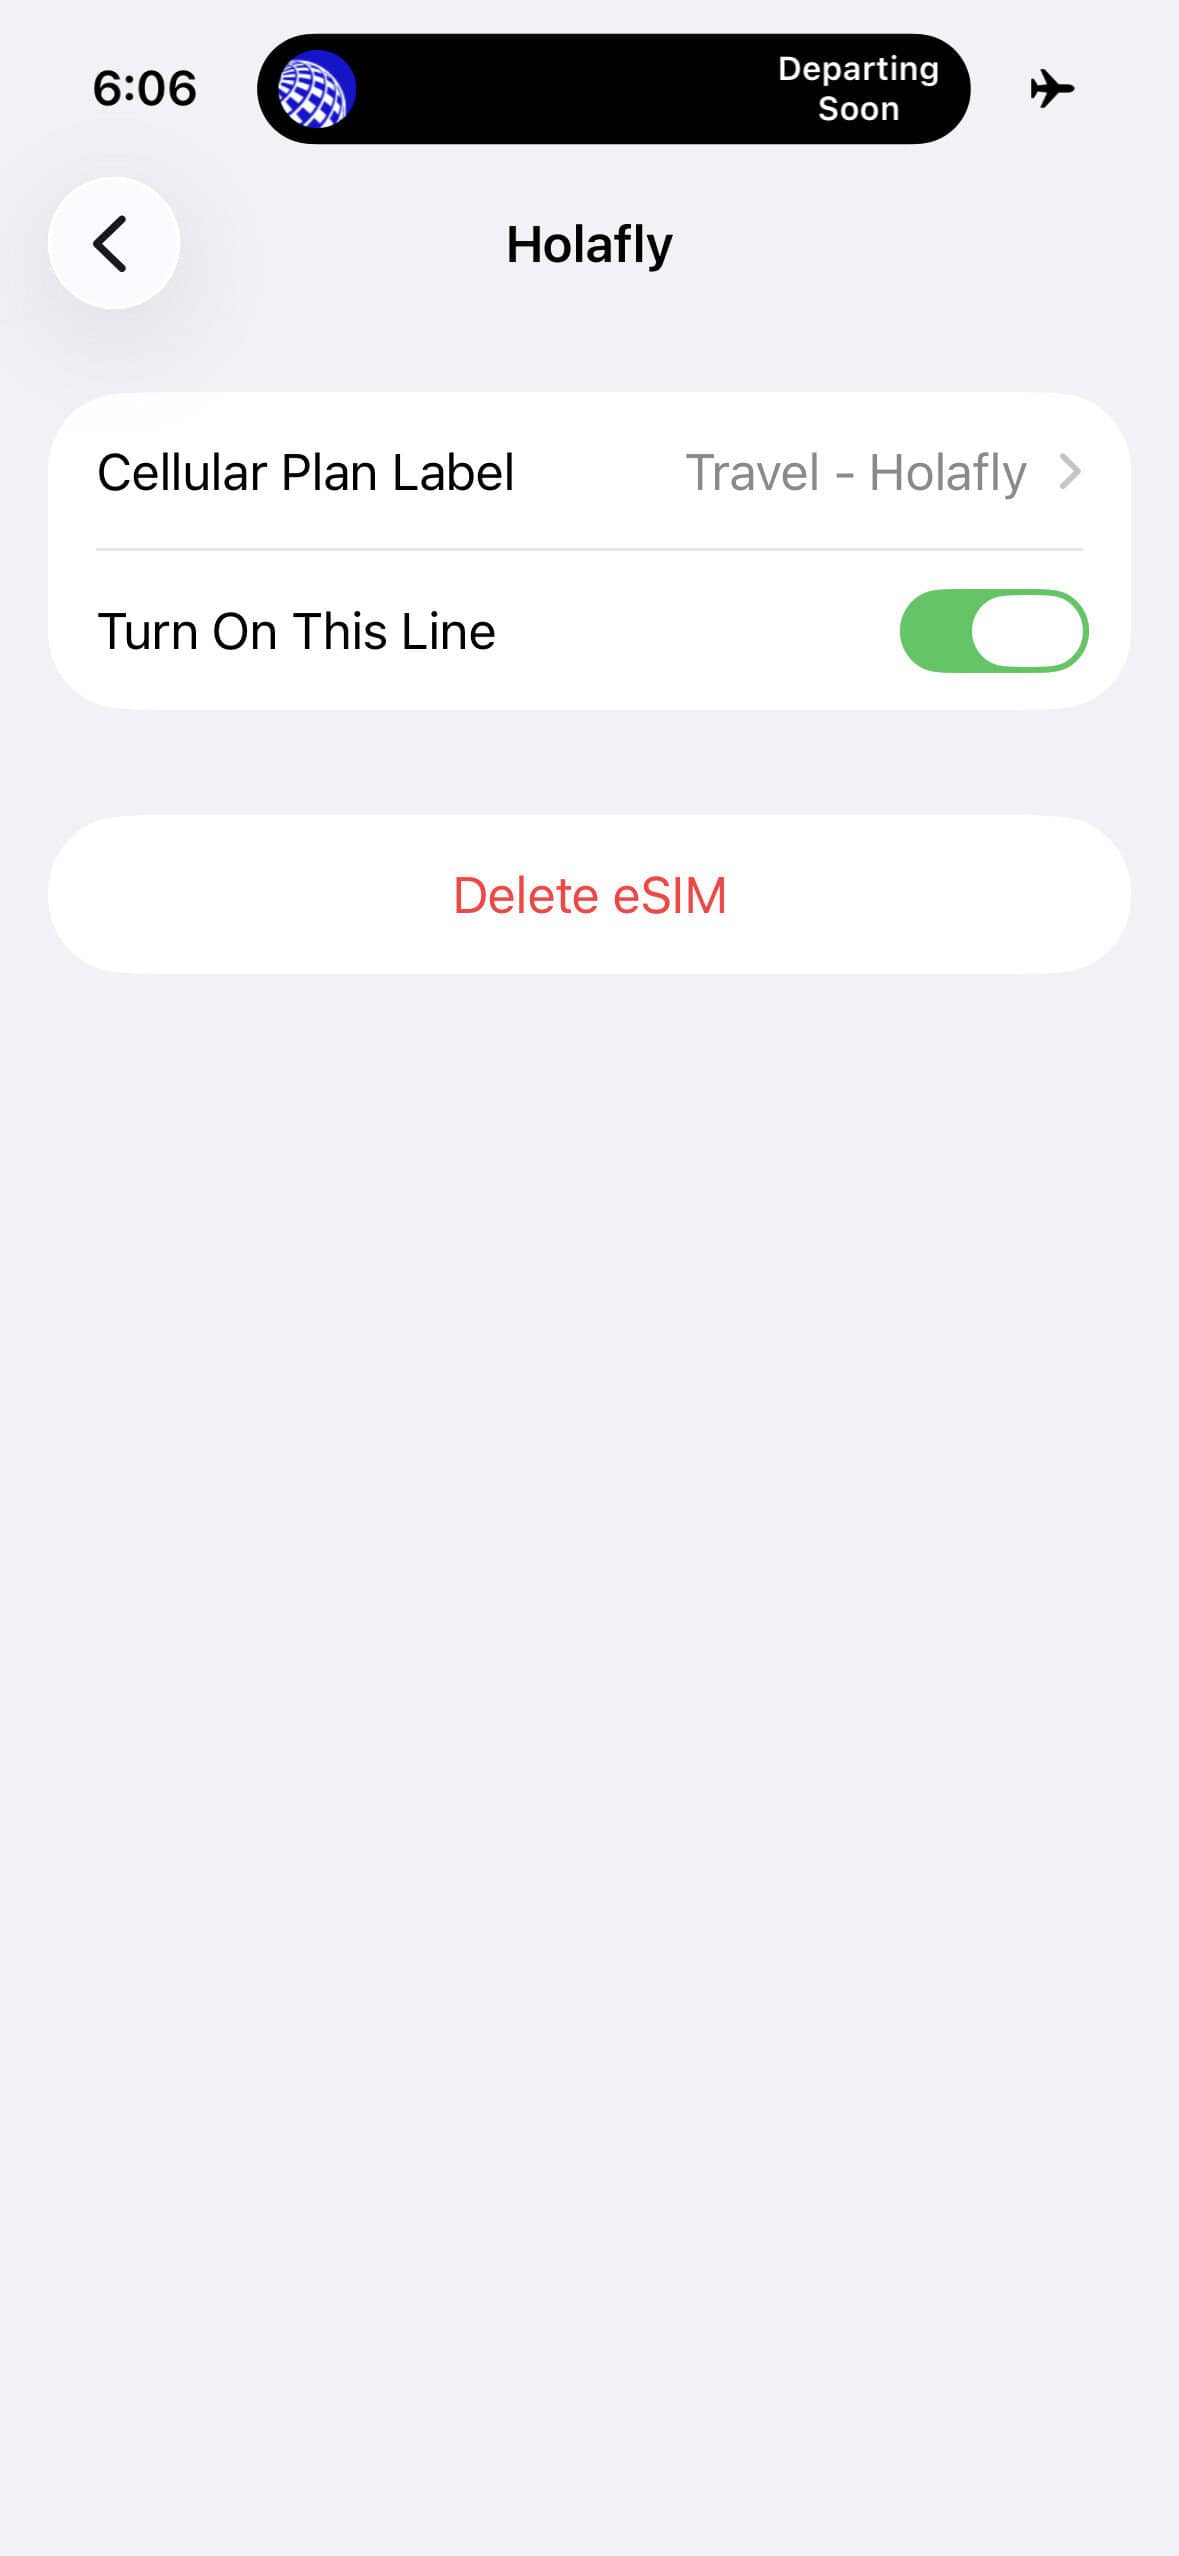
Once you’ve installed your eSIM, Holafly reminds you to keep it turned off until you arrive in your destination. I double checked this by going into the Cellular section of my Settings where I could see my Travel – Holafly eSIM was set to “off.”
Step 3: Activate your data once you arrive
As soon as our flight touched down at Newark Airport, I opened up the Settings on my phone to activate my eSIM. Again, this was an incredible easy process.
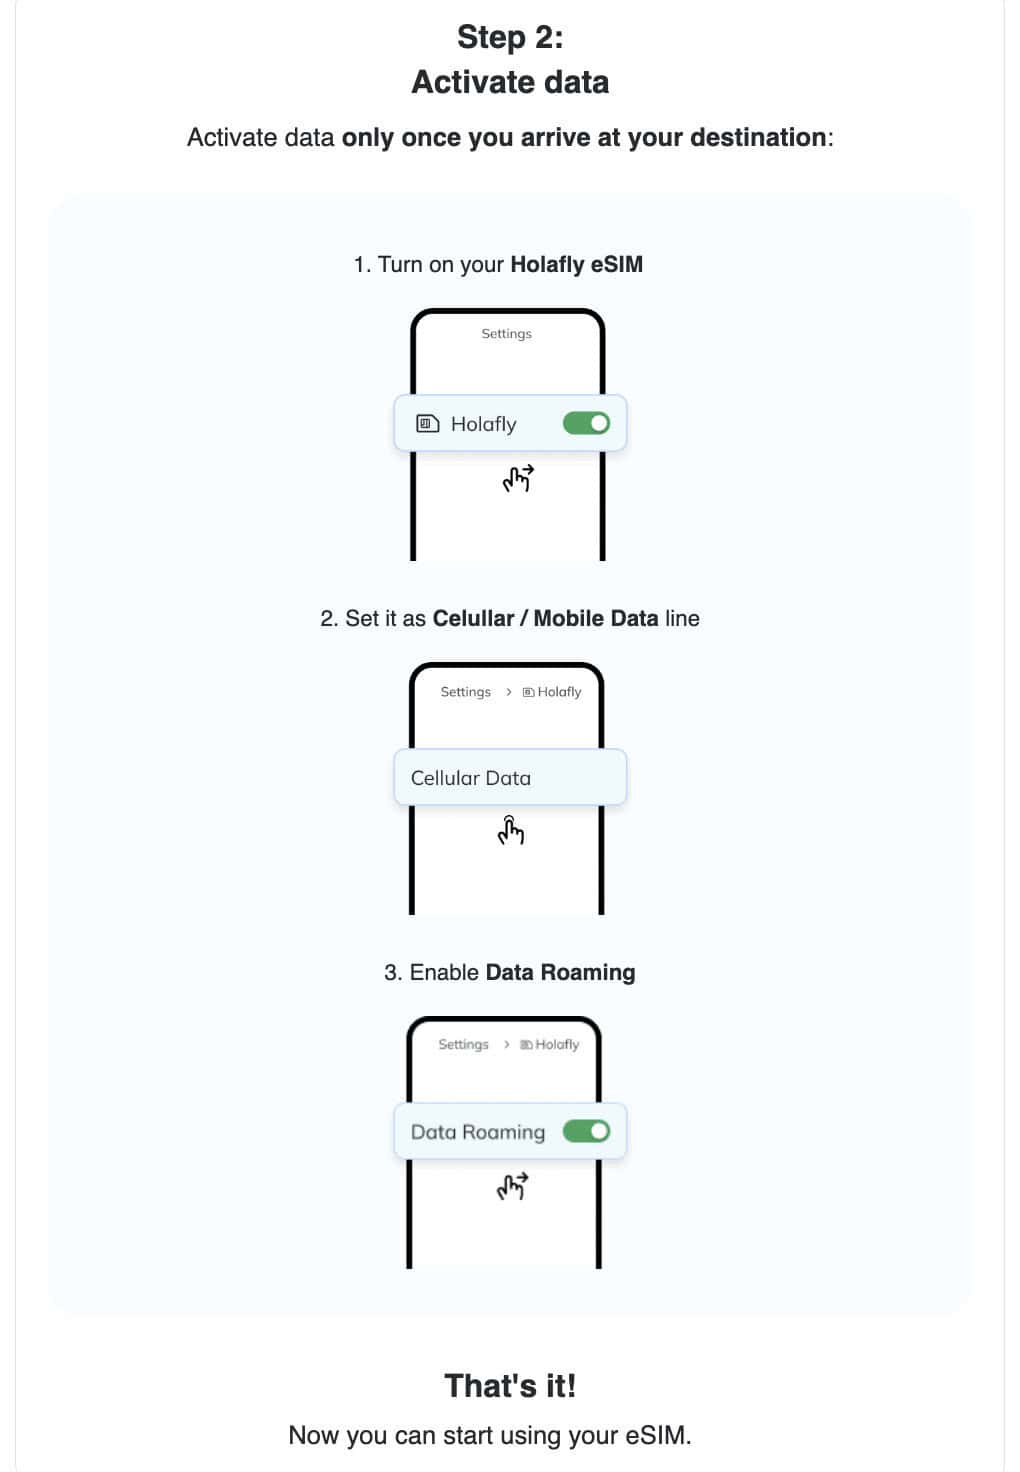
On my iPhone I went into Settings > Cellular > SIMs. From there, I turned off the Primary eSIM with my home carrier and turned on my Travel – Holafly eSIM.
In the same Cellular section, I also made sure my Cellular Data was set to my Travel – Holafly eSIM and not my Primary eSIM.
Two important notes: 1) Don’t forget to turn ON data roaming under your Holafly eSIM. That will allow you to use it on the road.
2) Don’t forget to turn OFF the option to “Allow Cellular Data Switching.” If you leave this on, your phone may switch between your Holafly eSIM and your Primary eSIM for data coverage, which you don’t want.
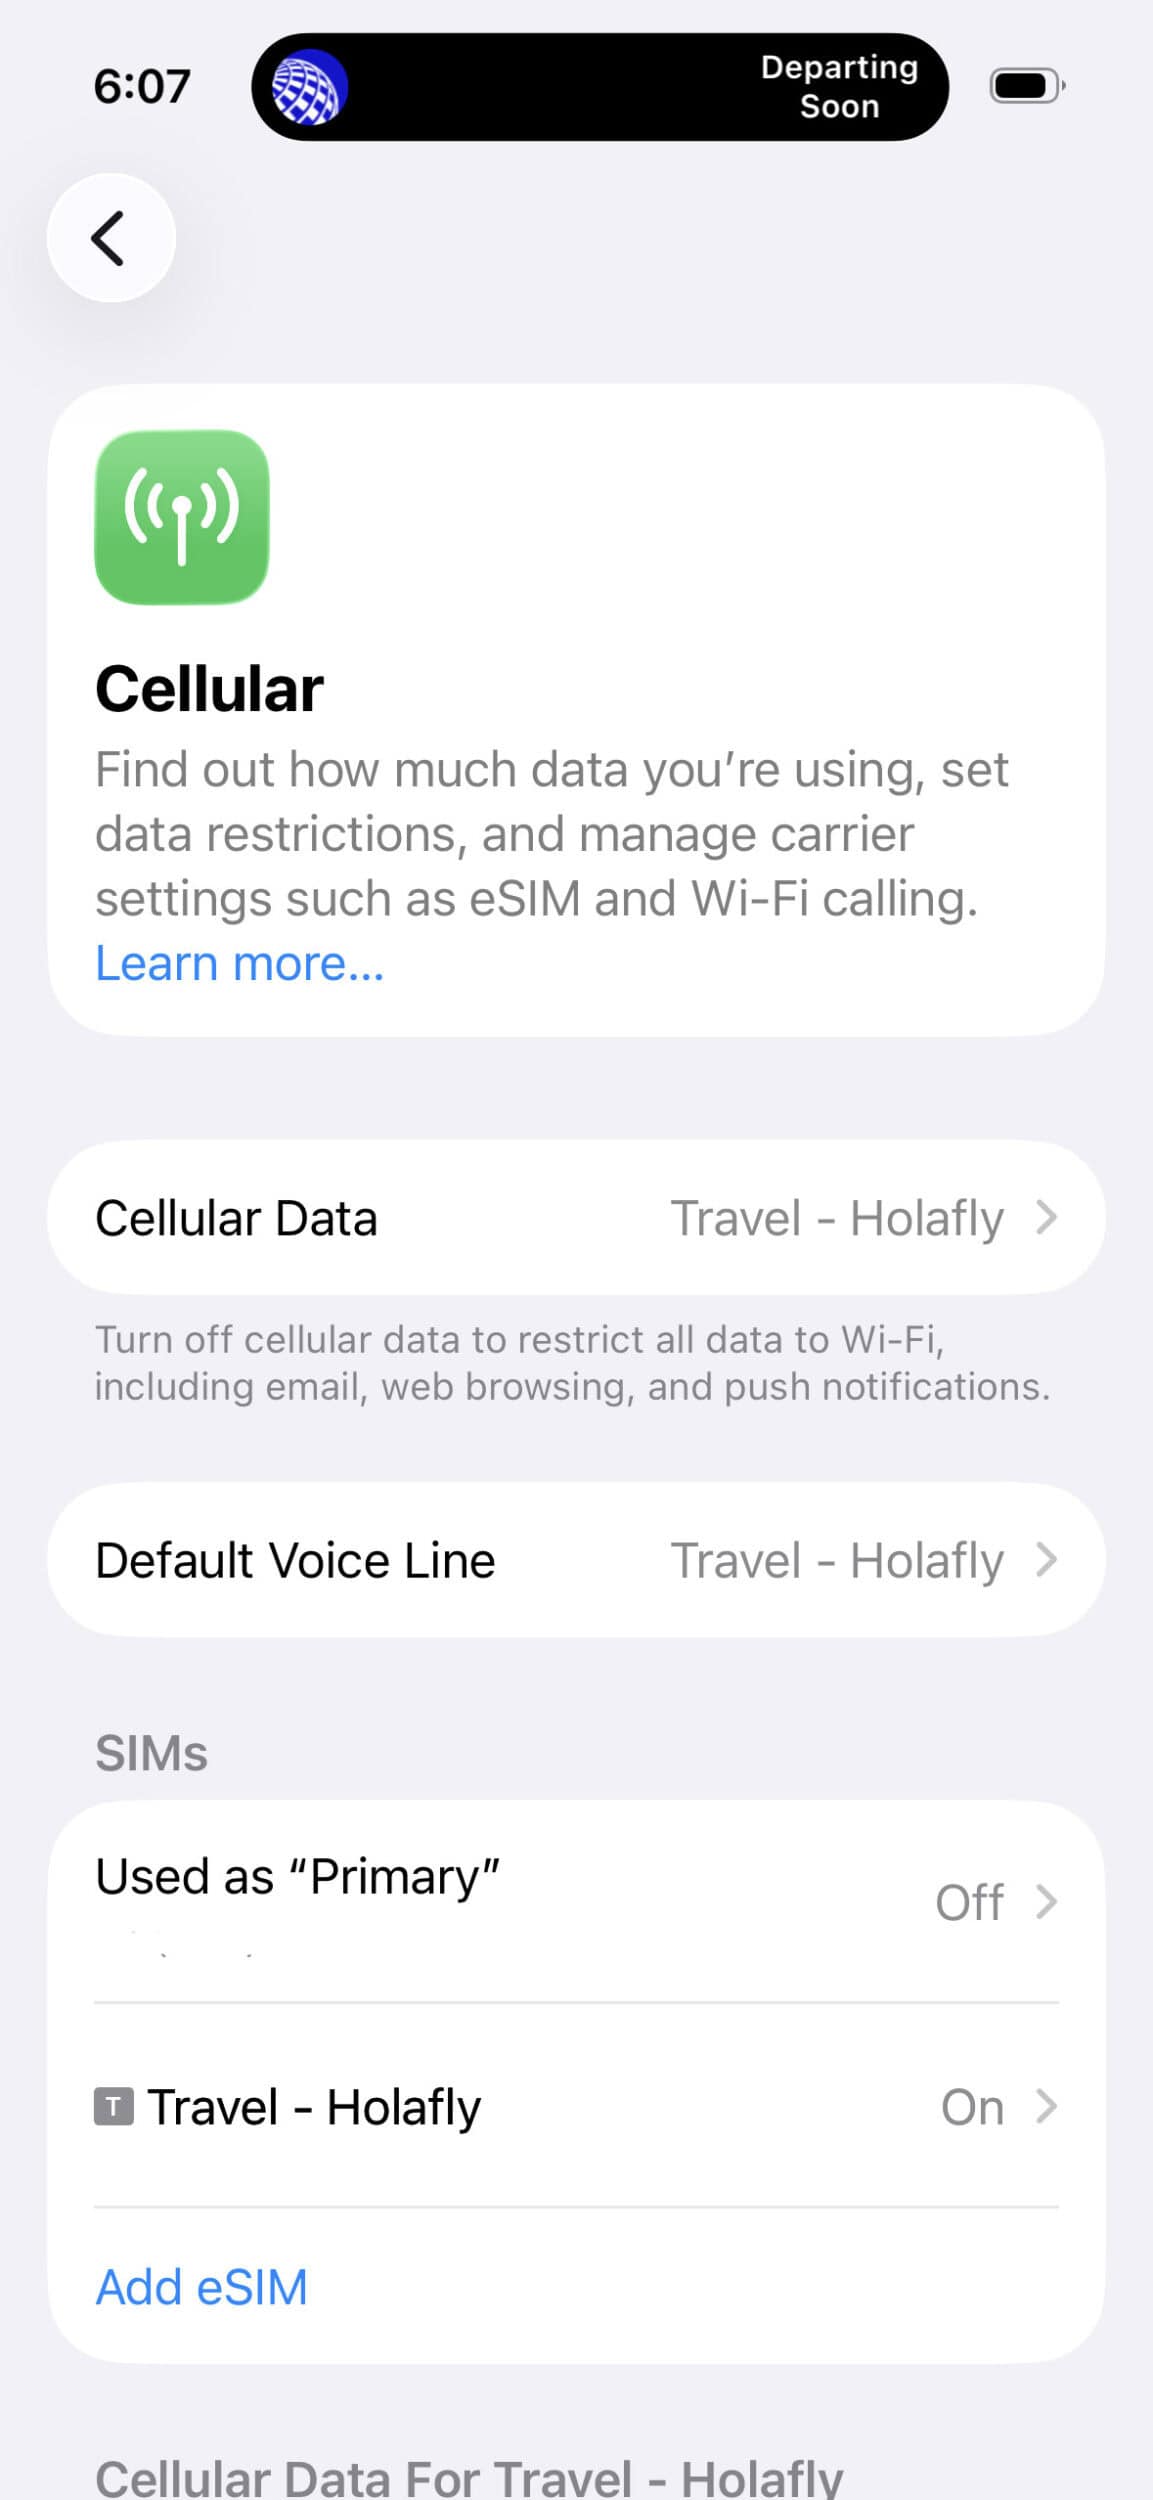
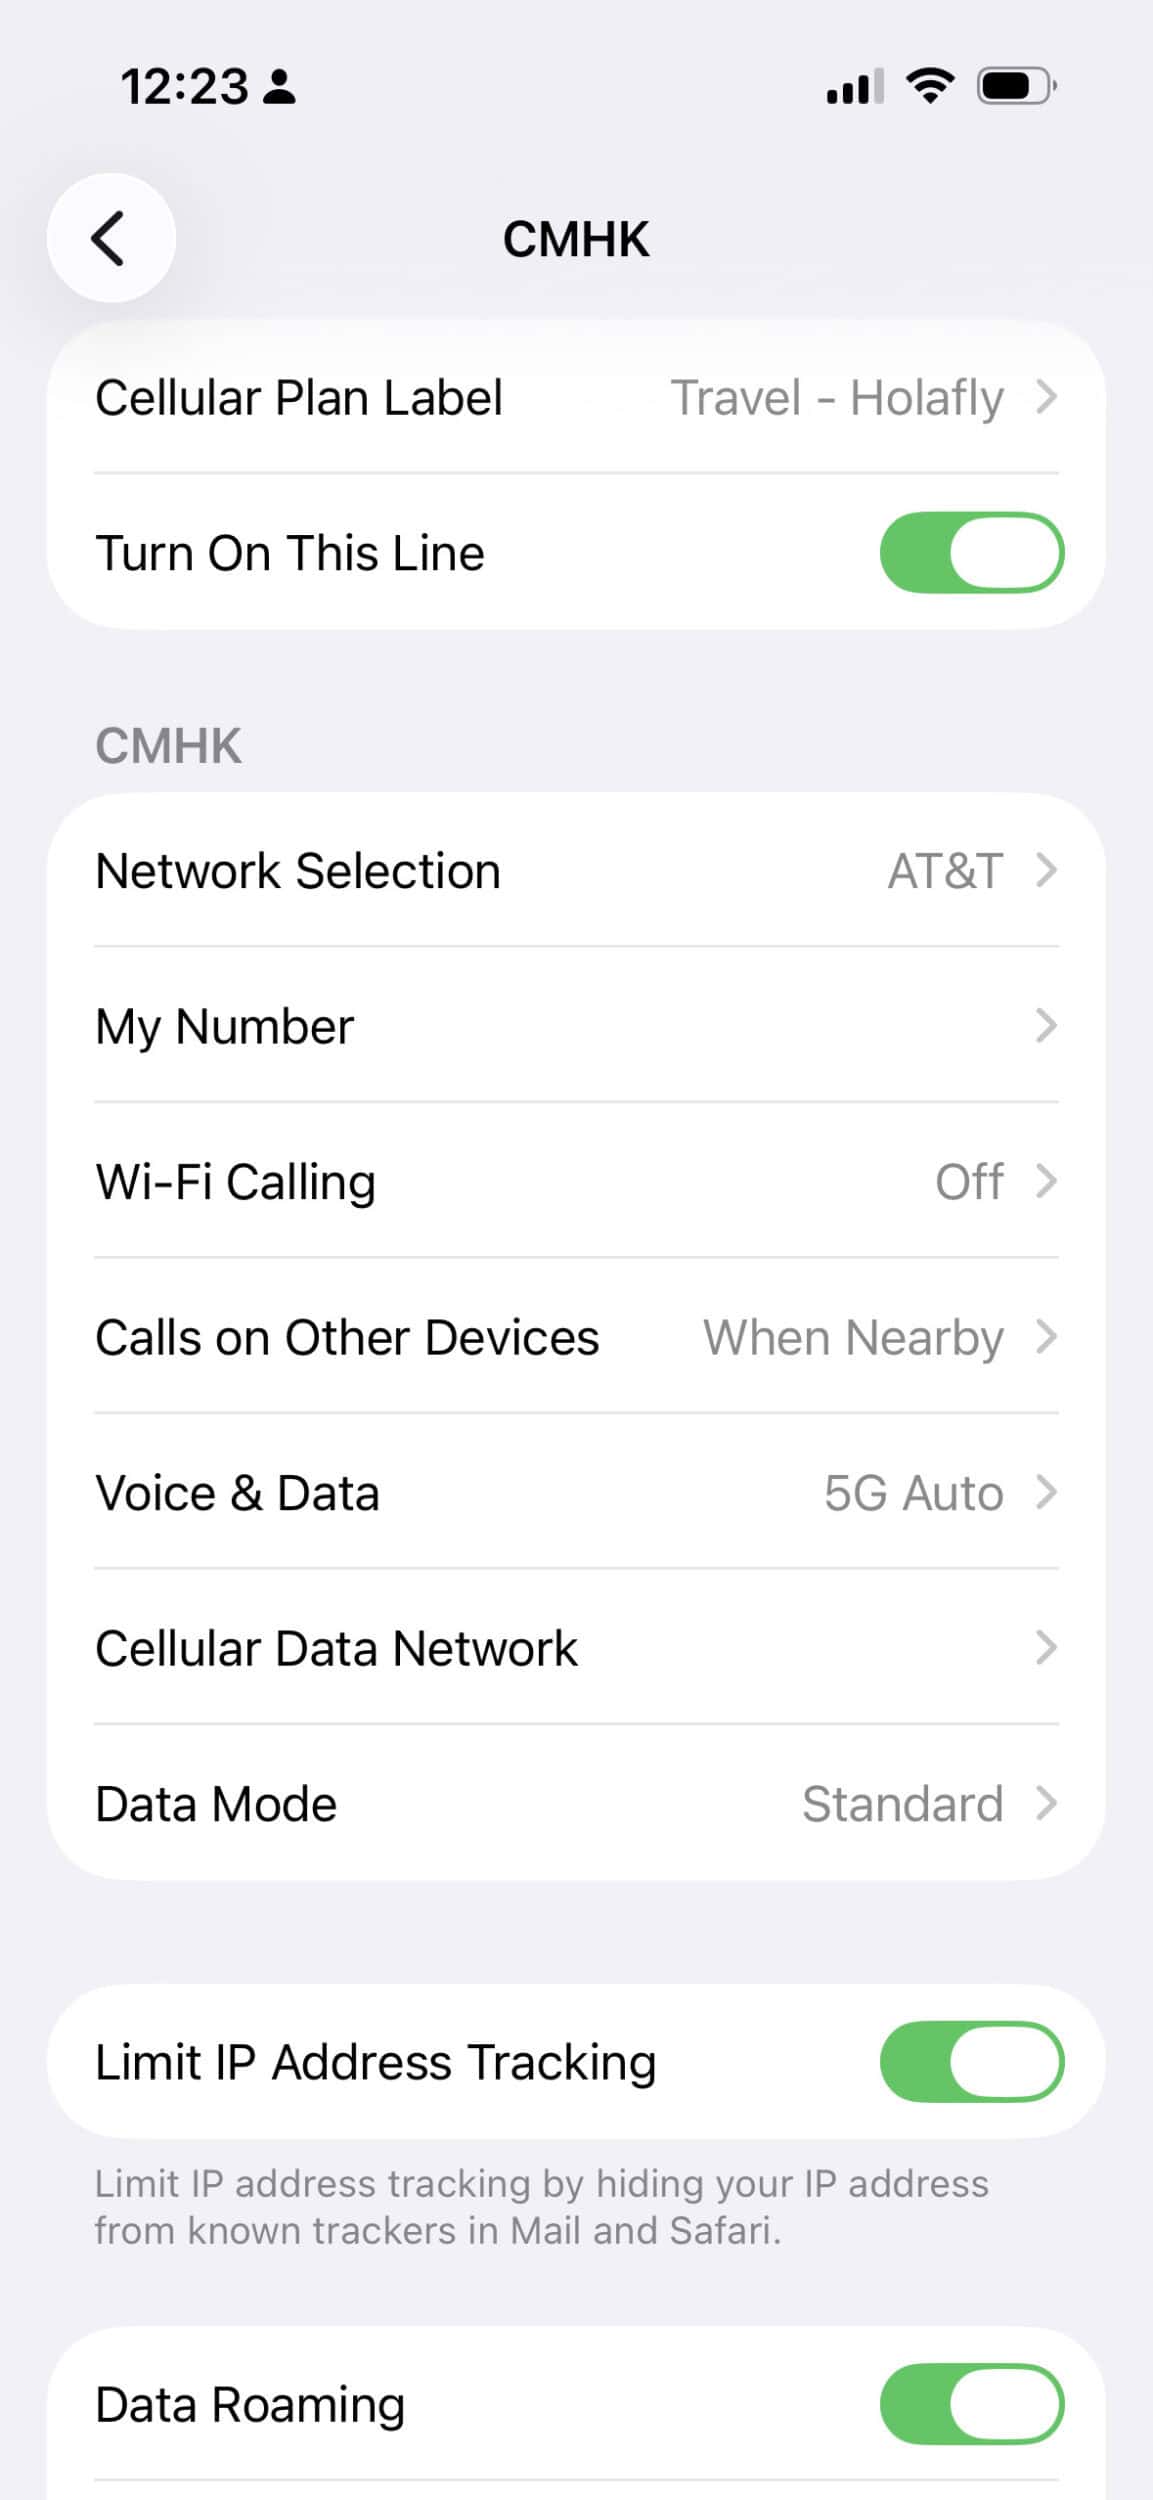
I was able to do all of this in under a minute and without any issues. So I was answering iMessages and sending WhatsApp photos before we even got off the plane!
My husband also had zero problems with his Holafly eSIM activation on his Android phoen. It wasn’t until he had placed an UberEats order to our hotel room that I thought to ask him how the eSIM was working – proving that his phone was obviously connected and working perfectly!
Wrapping up: Stay connected around the globe with Holafly
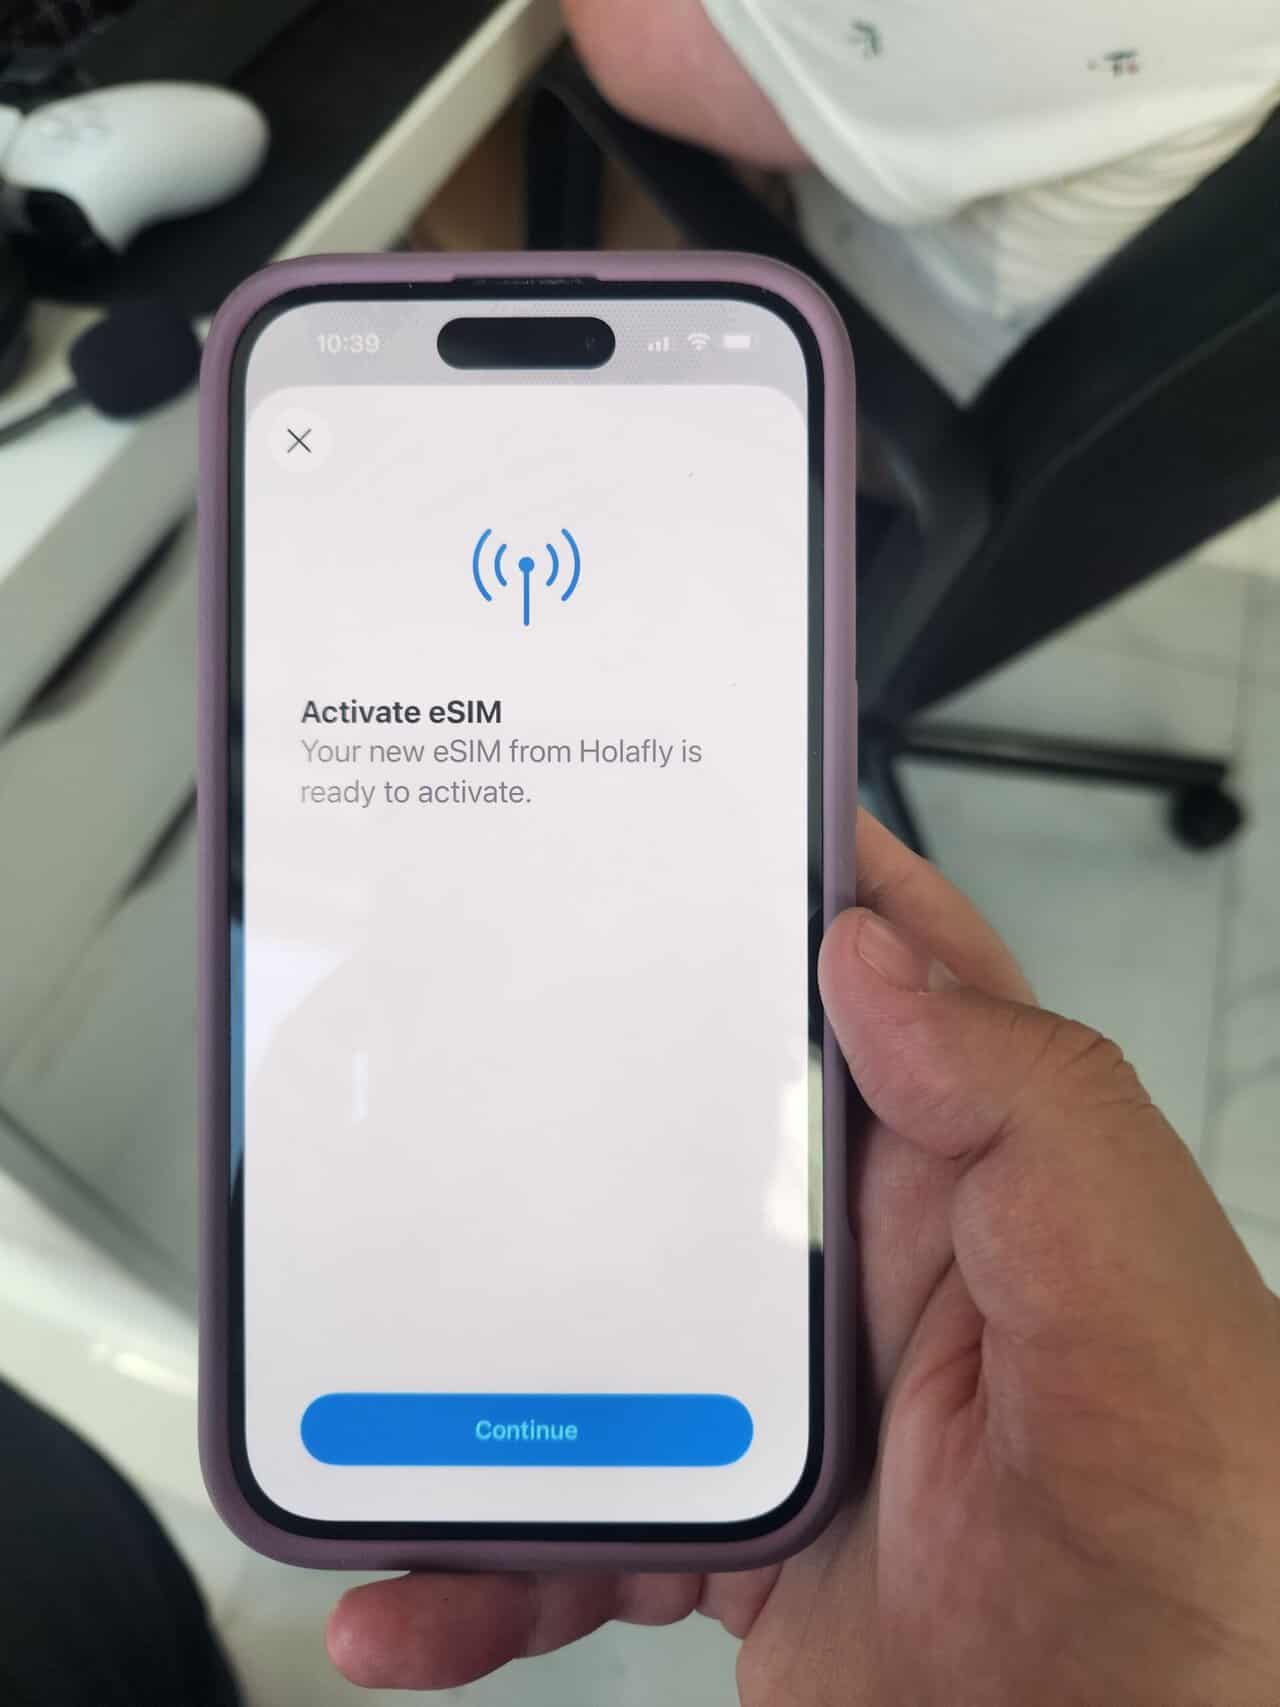
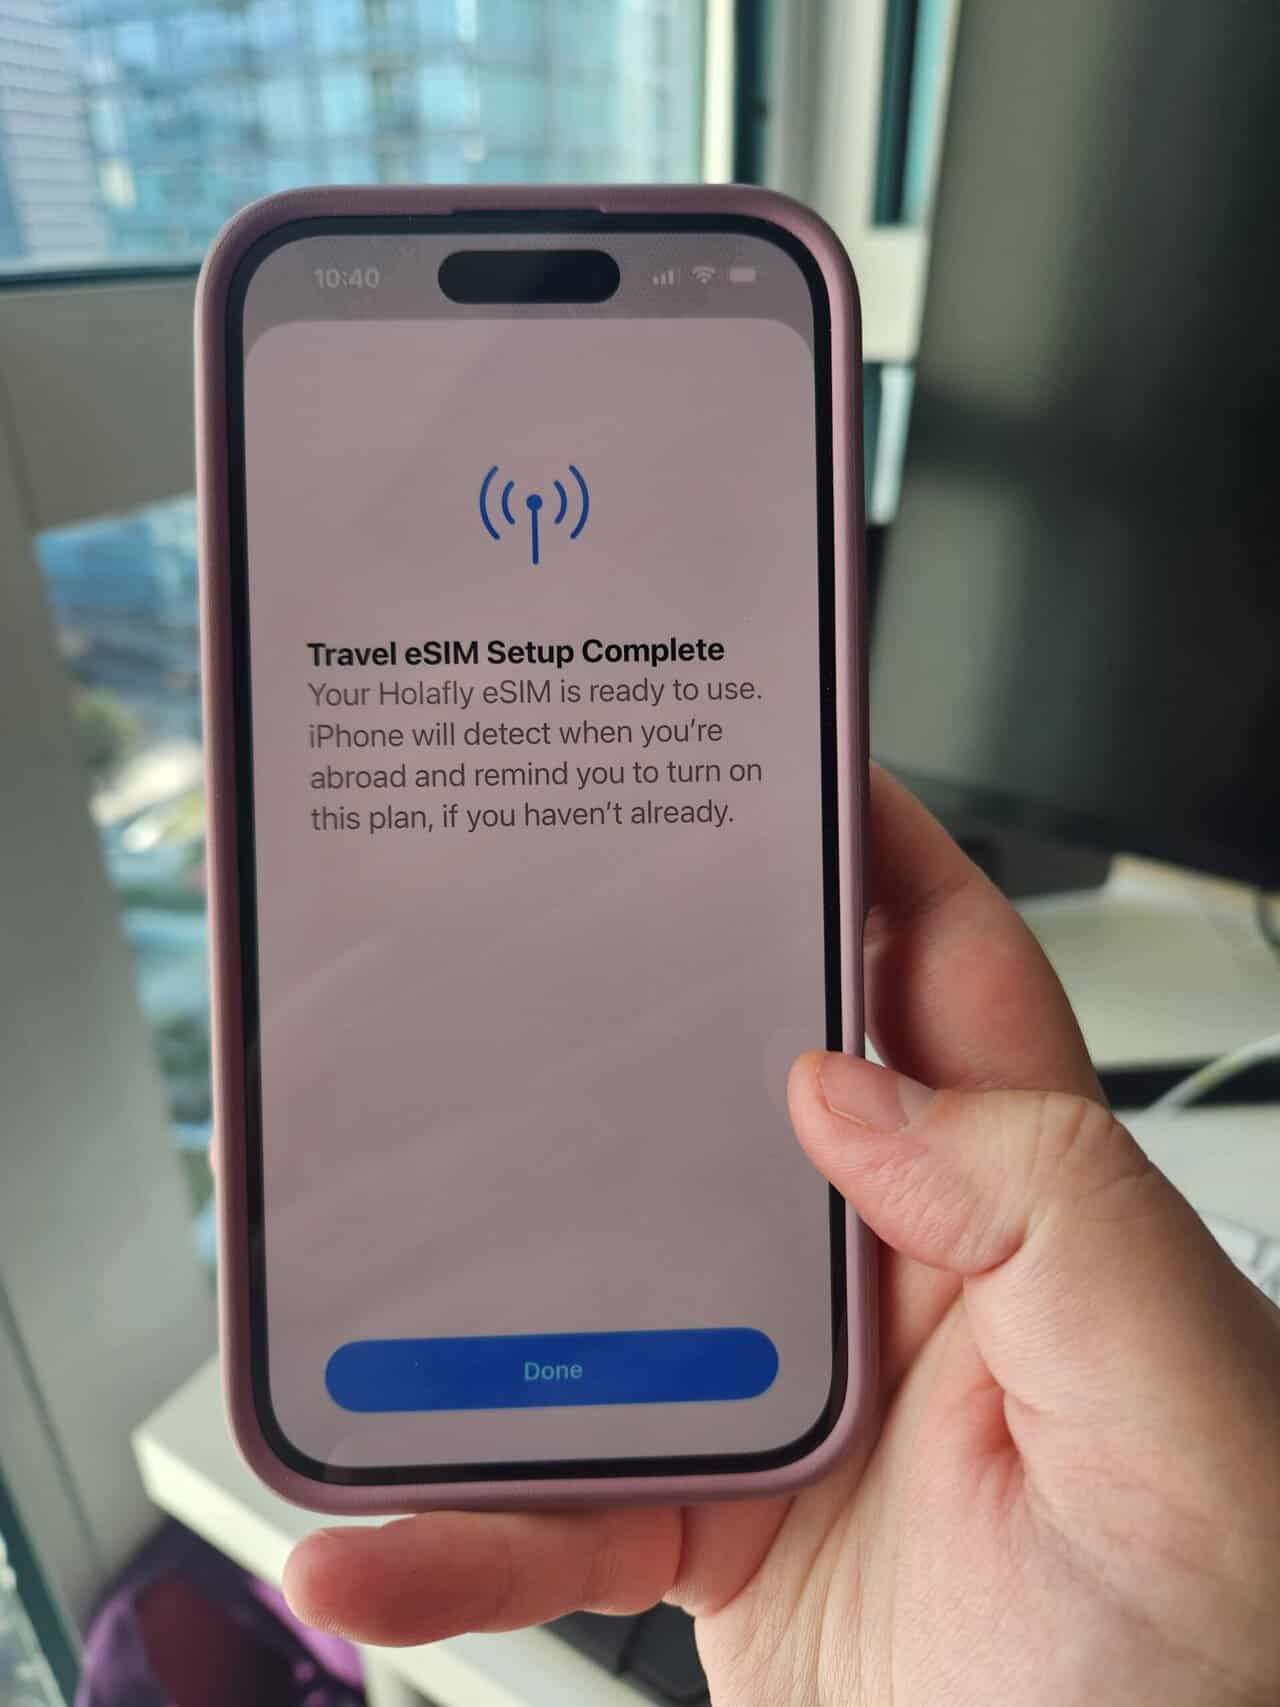
As you can see from the steps above, it was incredibly easy to purchase, install and activate my Holafly eSIM.
Every step of the process was straightforward and user-friendly. I didn’t need any tech skills and if I had ran into issues, the Holafly support team was available 24/7.
I know that relying on eSIMs can feel intimidating, especially when you’re travelling to a foreign country where you need data access as soon as you land. It can be scary to trust that your eSIM is going to work and that you set it up correctly.
I’ve felt nervous in the past but I can honestly say that the installation and activation process with Holafly was so simple that I had no worries. The process was fast, easy and made for everyday travellers, not tech junkies.
I felt supported throughout the process and confident that my eSIM would keep me connected during our vacation.
Stay connected with unlimited data around the globe with Holafly and use my code below for a discount on your order!
Use my code TEASPOONOFADVENTURE for 5% off eSIMs and 10% off Holafly Plans (for the first 12 months)